

In order to use the application, you will have to install it on your server. Installation is painless process that will set up everything you need (from database tables to configuration files) to use the application.
Server Requirements
In order to install Vanguard application, your server must meet following requirements:
- PHP >= 5.3.0
- PDO PHP Extension
- PDO MySQL Extension
Installation Wizard
After downloading the ZIP archive, and uploading it to your server, first thing you have to do is to create the database where system tables will be created. Let's say, you create the database called as.
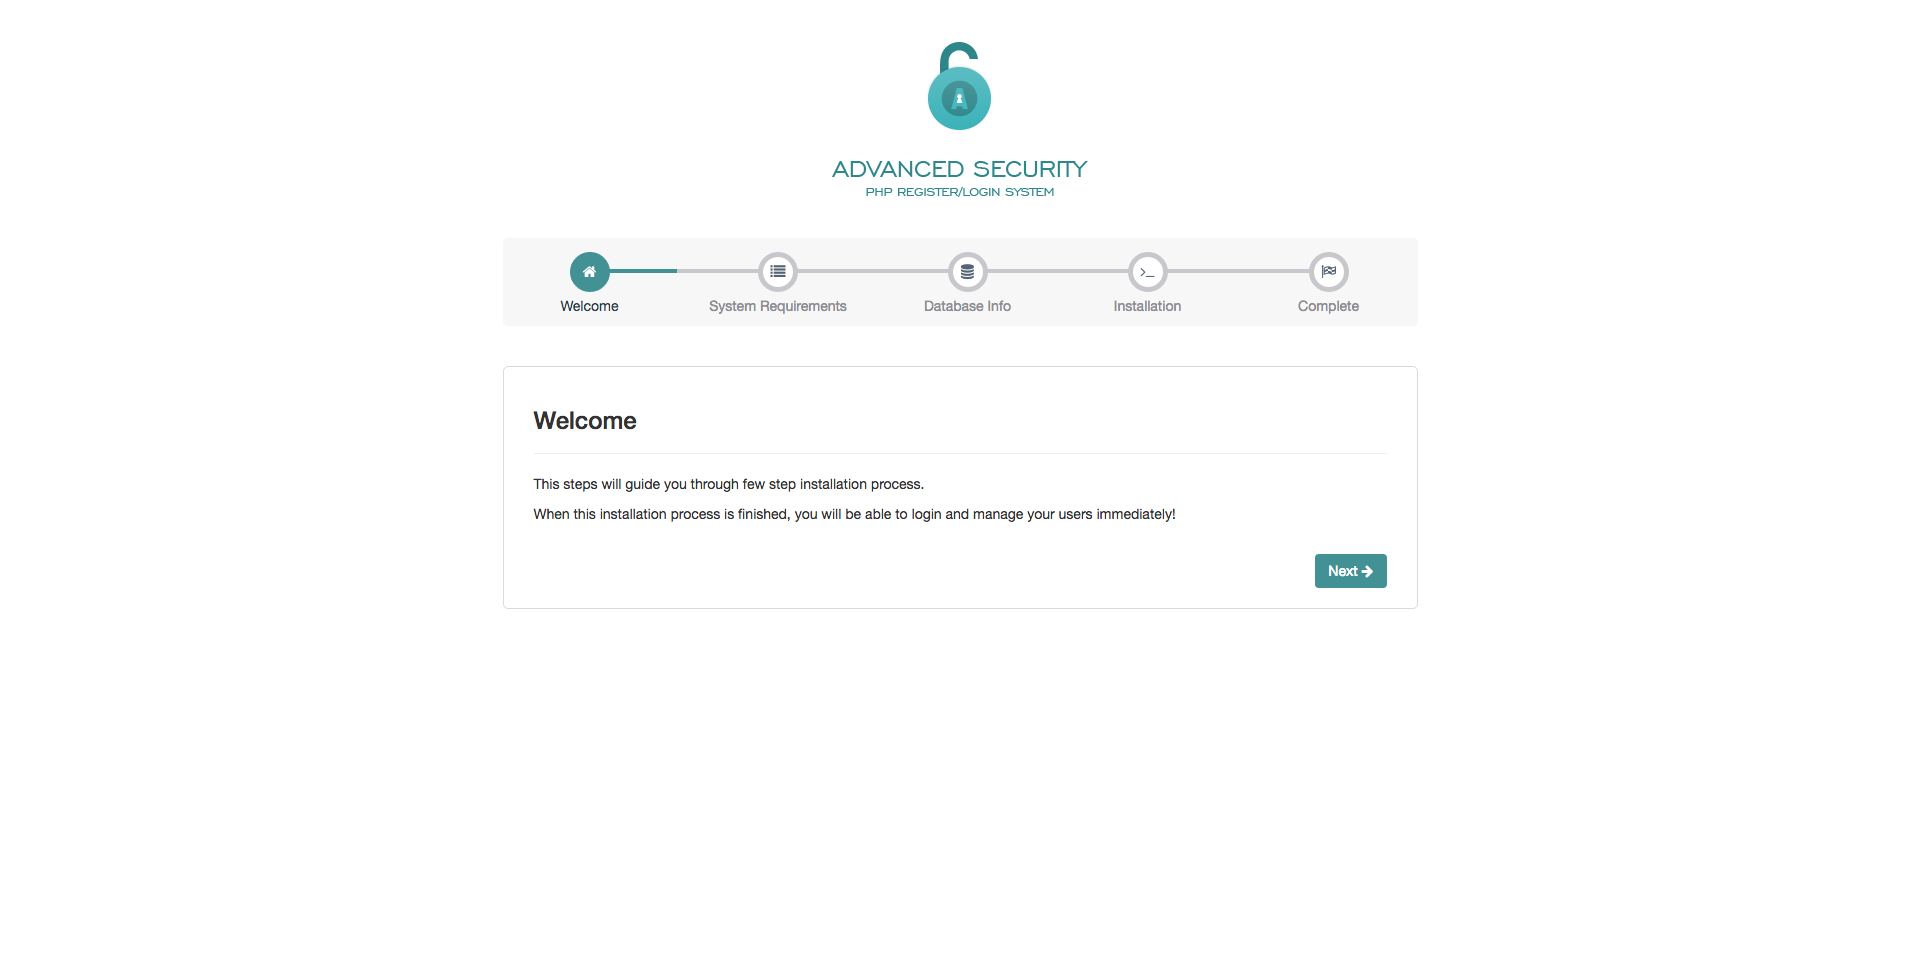
Step 1 - Welcome Screen
When you have your database created and ready to use, just navigate to the AS folder on your server and installation wizard will be displayed immediately. For example, if you have uploaded AS script into auth folder on your server, then you will be able to start the installation simply by accessing yourdomain.com/auth from your browser. After accessing the described url, the installation wizard will be displayed.
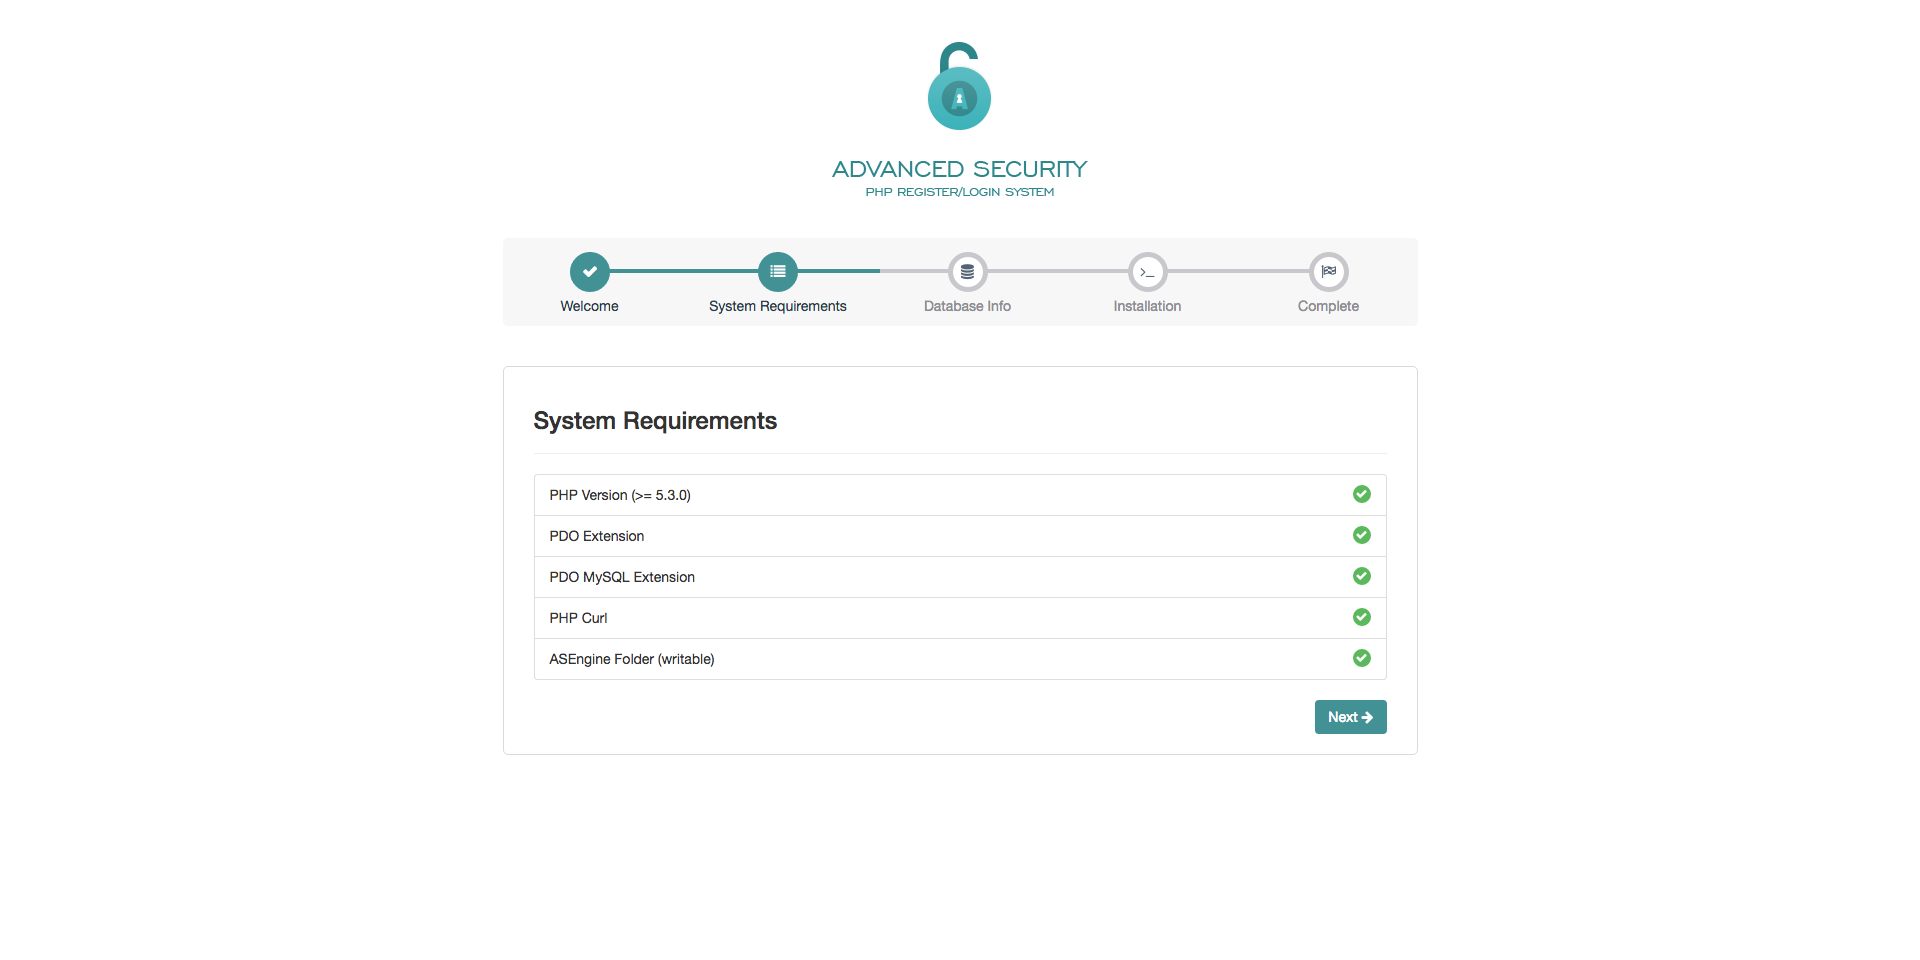
Step 2 - System Requirements
By clicking the "Next" button in bottom right corner, "System Requirements" step will be displayed. On this screen you are able to see if your server meets all requirements necessary to install and use the Advanced Security application. If your system meets all the requirements, you can proceed to next step by clicking "Next" button.
Step 3 - Database Info
On this step you need to fill in the database information required for successfully connection to MySQL database. After filling in the required fields, installation wizard will try to connect to your database and, in case there are some problem while establishing the connection, appropriate error message will be displayed.

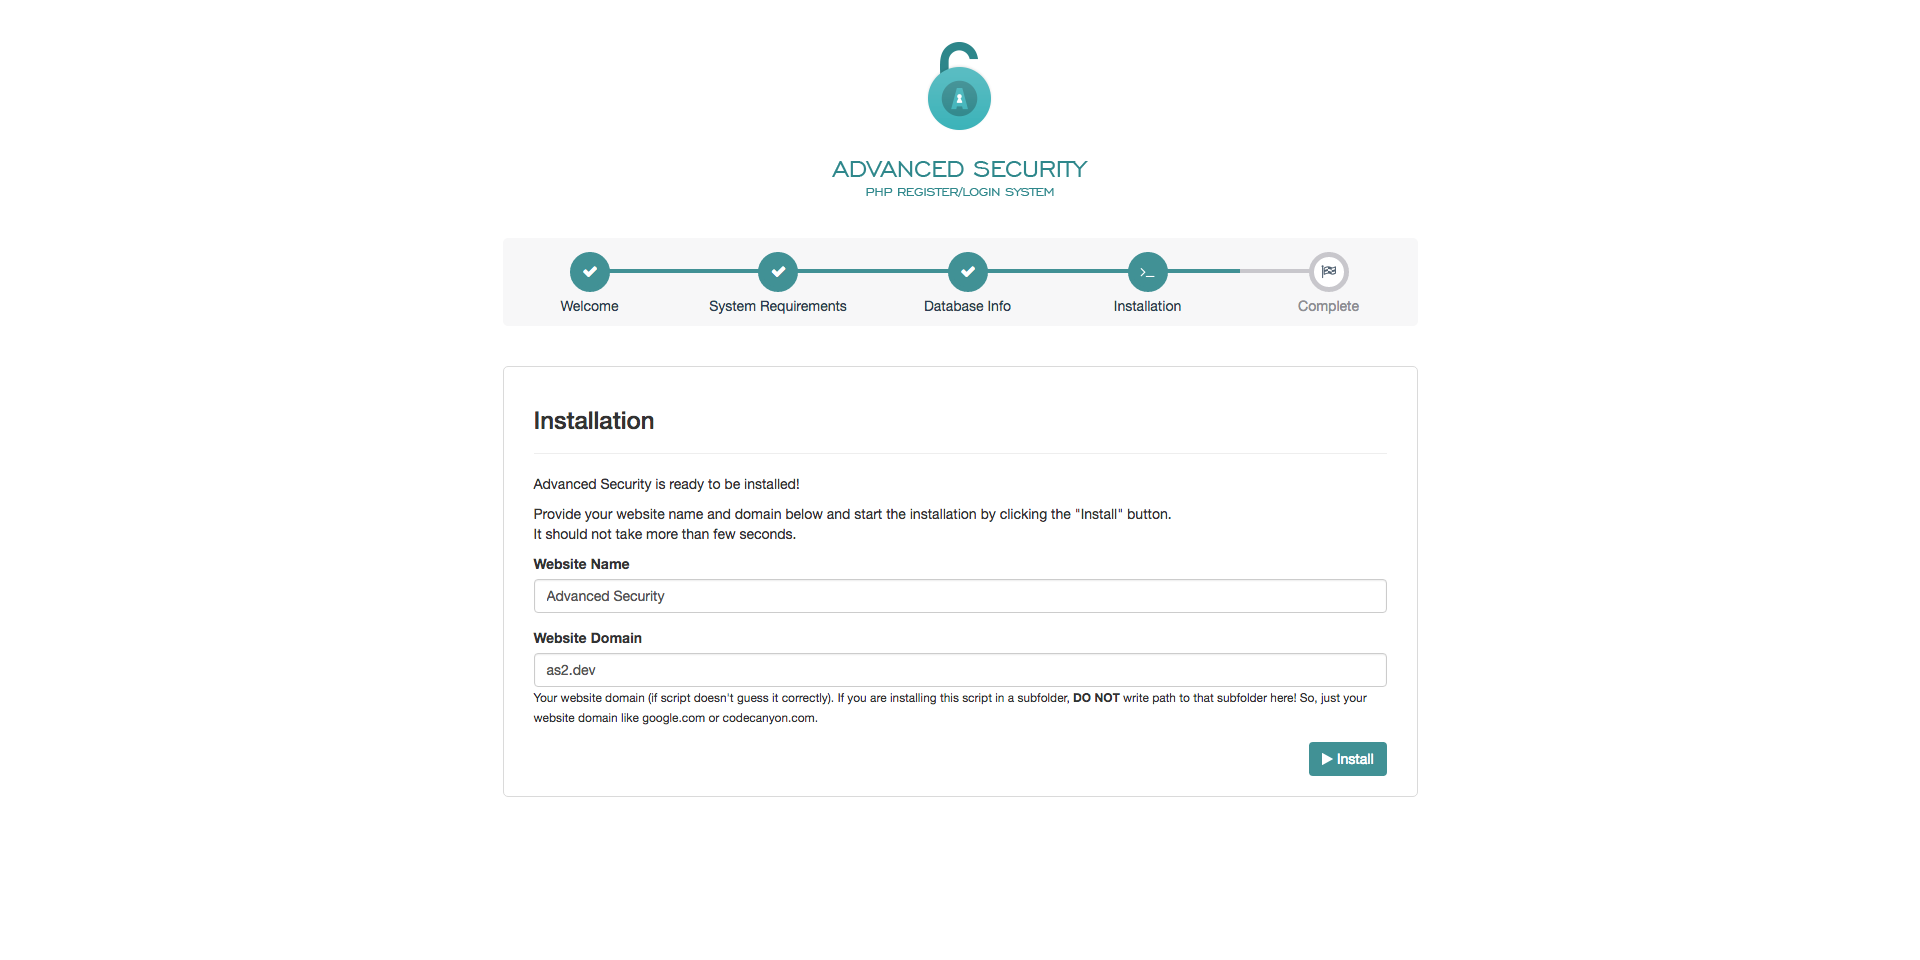
Step 4 - Installation
This step is final configuration step that is required to successfully install the application. Here you need to provide your application/website name as well as domain (without http://, https:// or www prefix). After you provide the required information, just click "Install" button and application should be installed in matter of seconds.
Step 5 - Complete
This is the last step of the installation wizard, which means that everything is installed properly and that you can start using your application. By clicking "Log In" button you will be redirected to the login page, where you can login with default administrator credentials:
- Username: admin
- Password: admin123
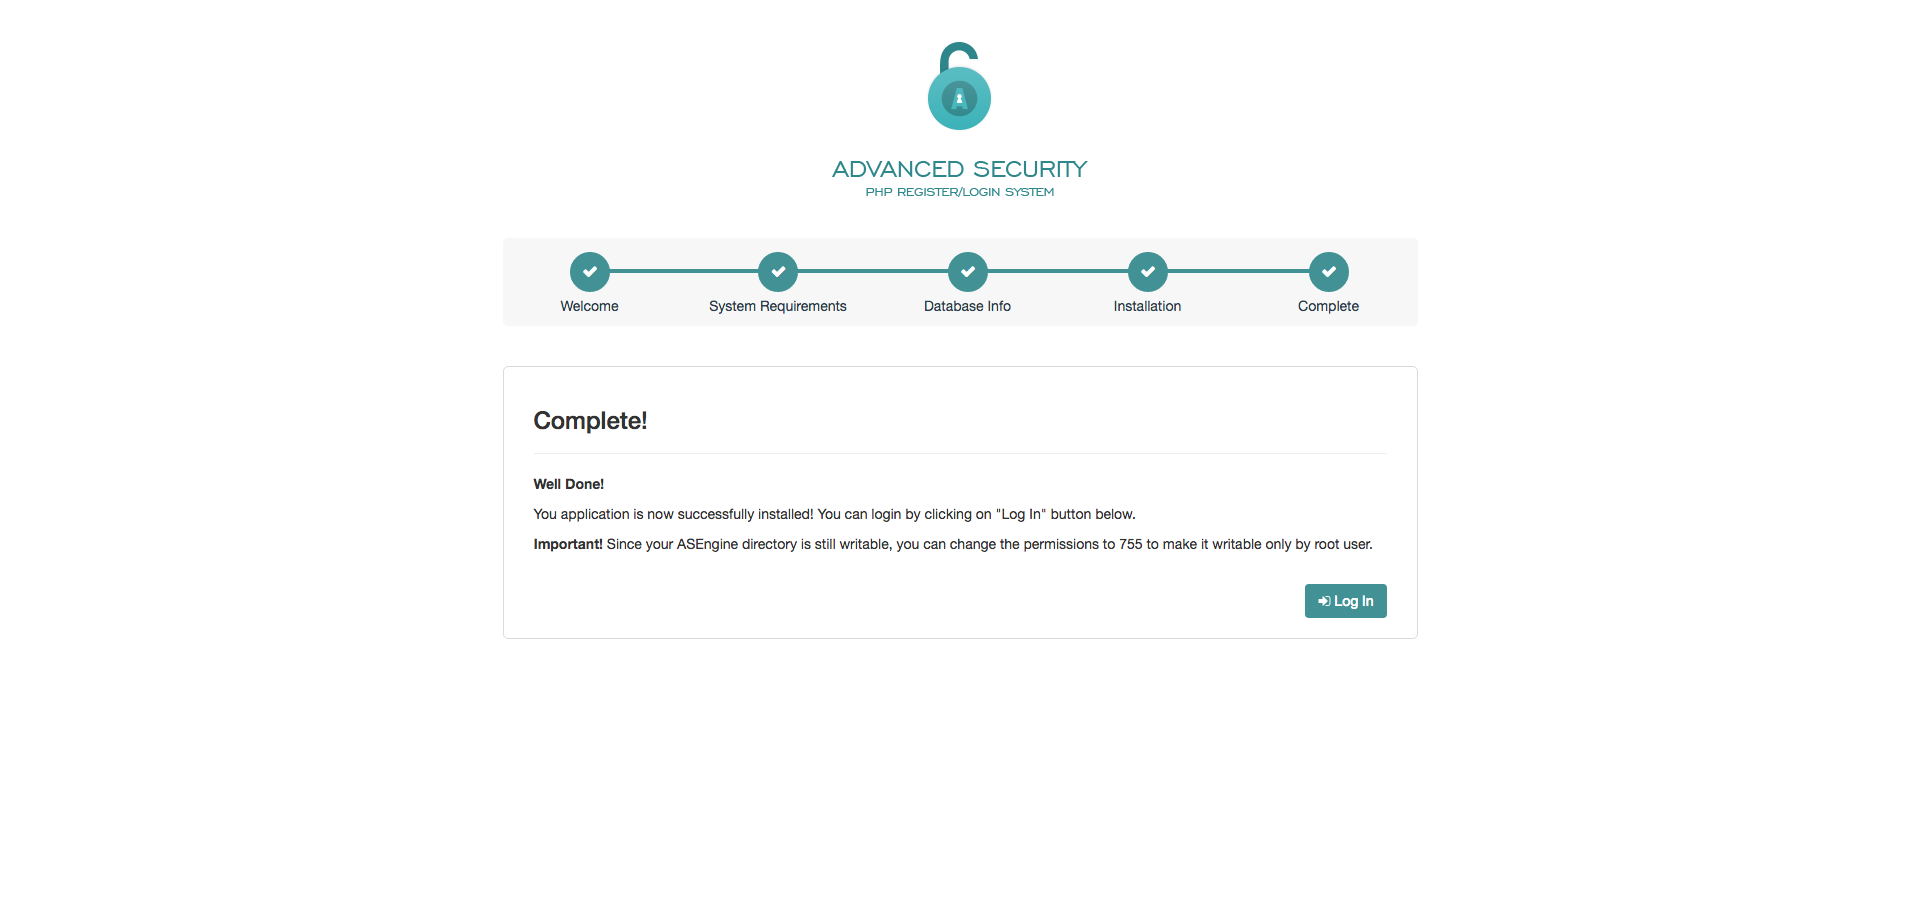
Note! Since your ASEngine directory is still writable, you should change the permissions to 755 to make it writable only by root user.