

Before you enable social configuration, make sure that your SOCIAL_CALLBACK_URI is properly defined inside ASConfig.php file. It should point to socialauth_callback.php file on your server. So, if you have AS installed inside auth folder for example, it should be configured as following:
define('SOCIAL_CALLBACK_URI', "http://yourwebsite.com/auth/socialauth_callback.php");This is the url that you should enter everywhere you need to provide callback URL for social authentication.
Facebook Configuration
Here is an detailed explanation of how you can create an Facebook application and acquire application id and secret key, required for social authentication. During the application creation and configuration, make sure that you have entered correct application domain on application's settings page.
After you create an application, you can find your App Id and App Secret keys on your application's Dashboard. After you get the key and the secret, you should enable Facebook authentication and copy those keys into ASConfig.php configuration file as following:
define('FACEBOOK_ENABLED', true);
define('FACEBOOK_ID', "your_application_id_from_facebook");
define('FACEBOOK_SECRET', "your_application_secret_from_facebook");In order to create Twitter application, and get the required Application Id and Secret key, go to Twitter Application Management and click Create New App button at the top right corner. When app creation form is opened, fill all required fields and click Create your Twitter Application button at the bottom of the page.
Note! As it is mentioned above, your Callback URL is http://yourwebsite.com/socialauth_callback.php.
After application is created, go to Keys and Access Tokens tab, grab your Consumer Key and Consumer Secret and paste them into your ASConfig.php file as follows:
define('TWITTER_ENABLED', true);
define('TWITTER_KEY', "your_consumer_key");
define('TWITTER_SECRET', "your_consumer_secret");
Google+
In order to utilise Google+ Authentication, first you need to create new Google Project/Application. To do that, first you have to go to https://console.developers.google.com/projec, click Create project button at top left corner and enter your Project name.
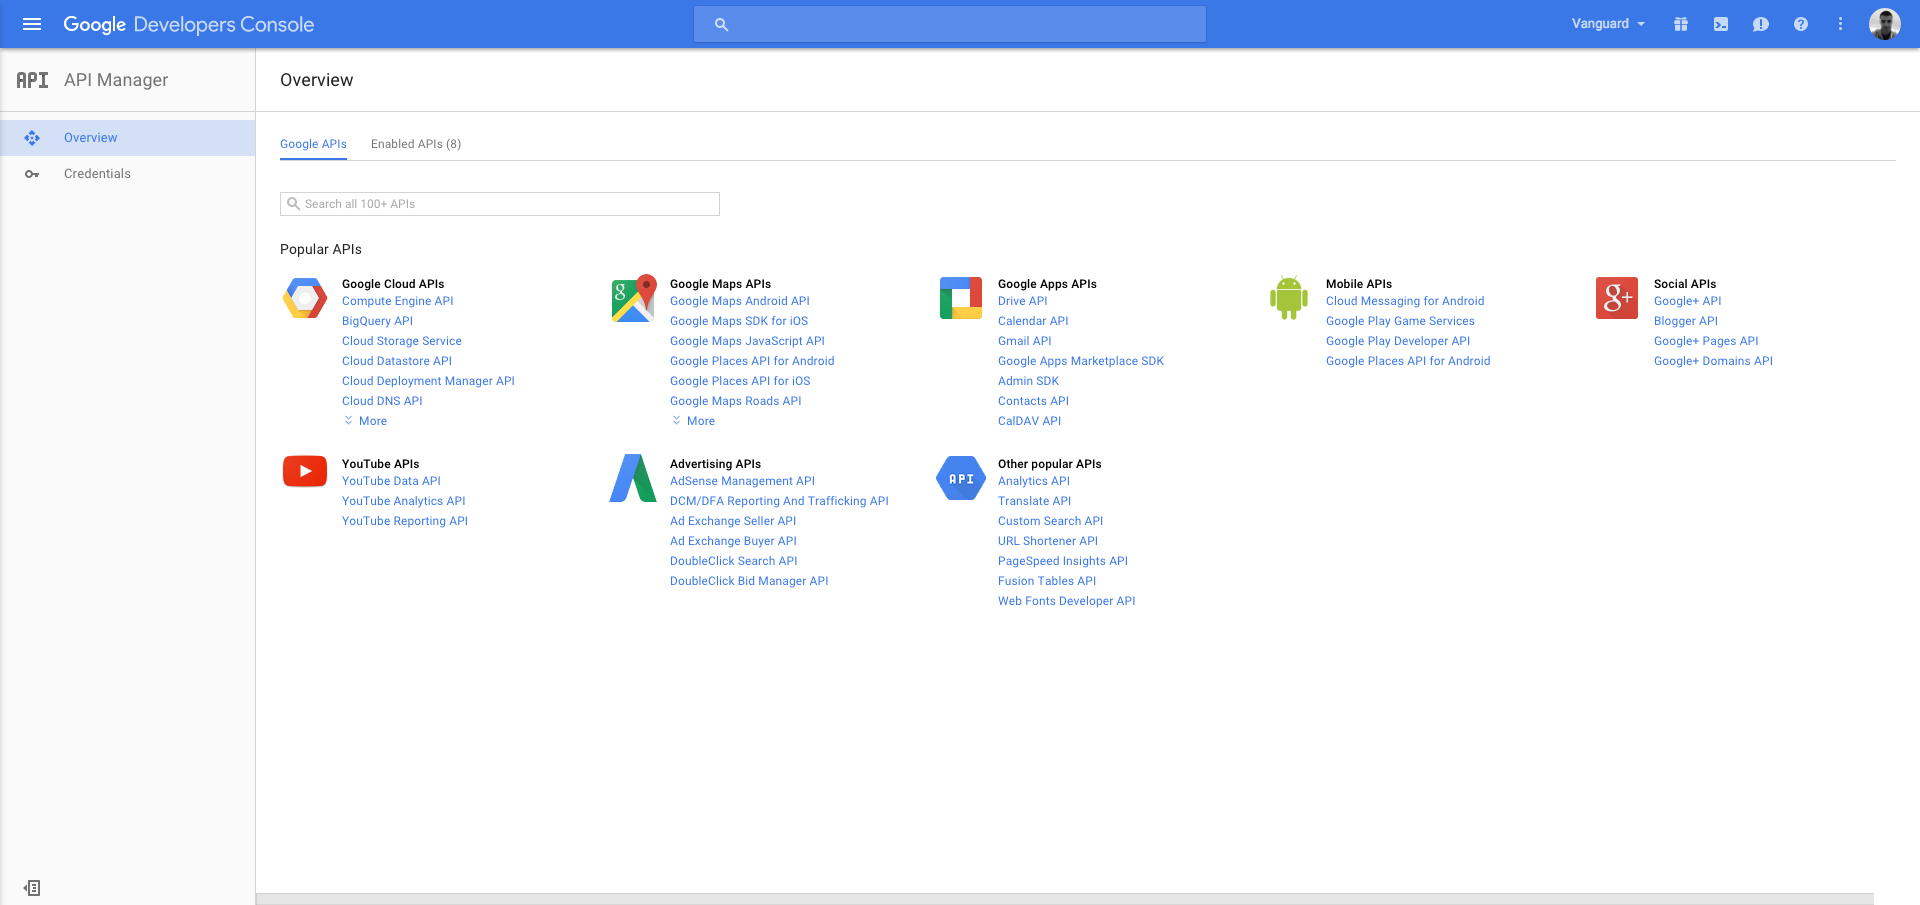
After you have created your project, you now have to enable Google+ API and get the credentials that will be used for authentication. Go to https://console.developers.google.com/apis/library, select your project from dropdown available on top right header and click on Google+ API link inside the list of available Google APIs.
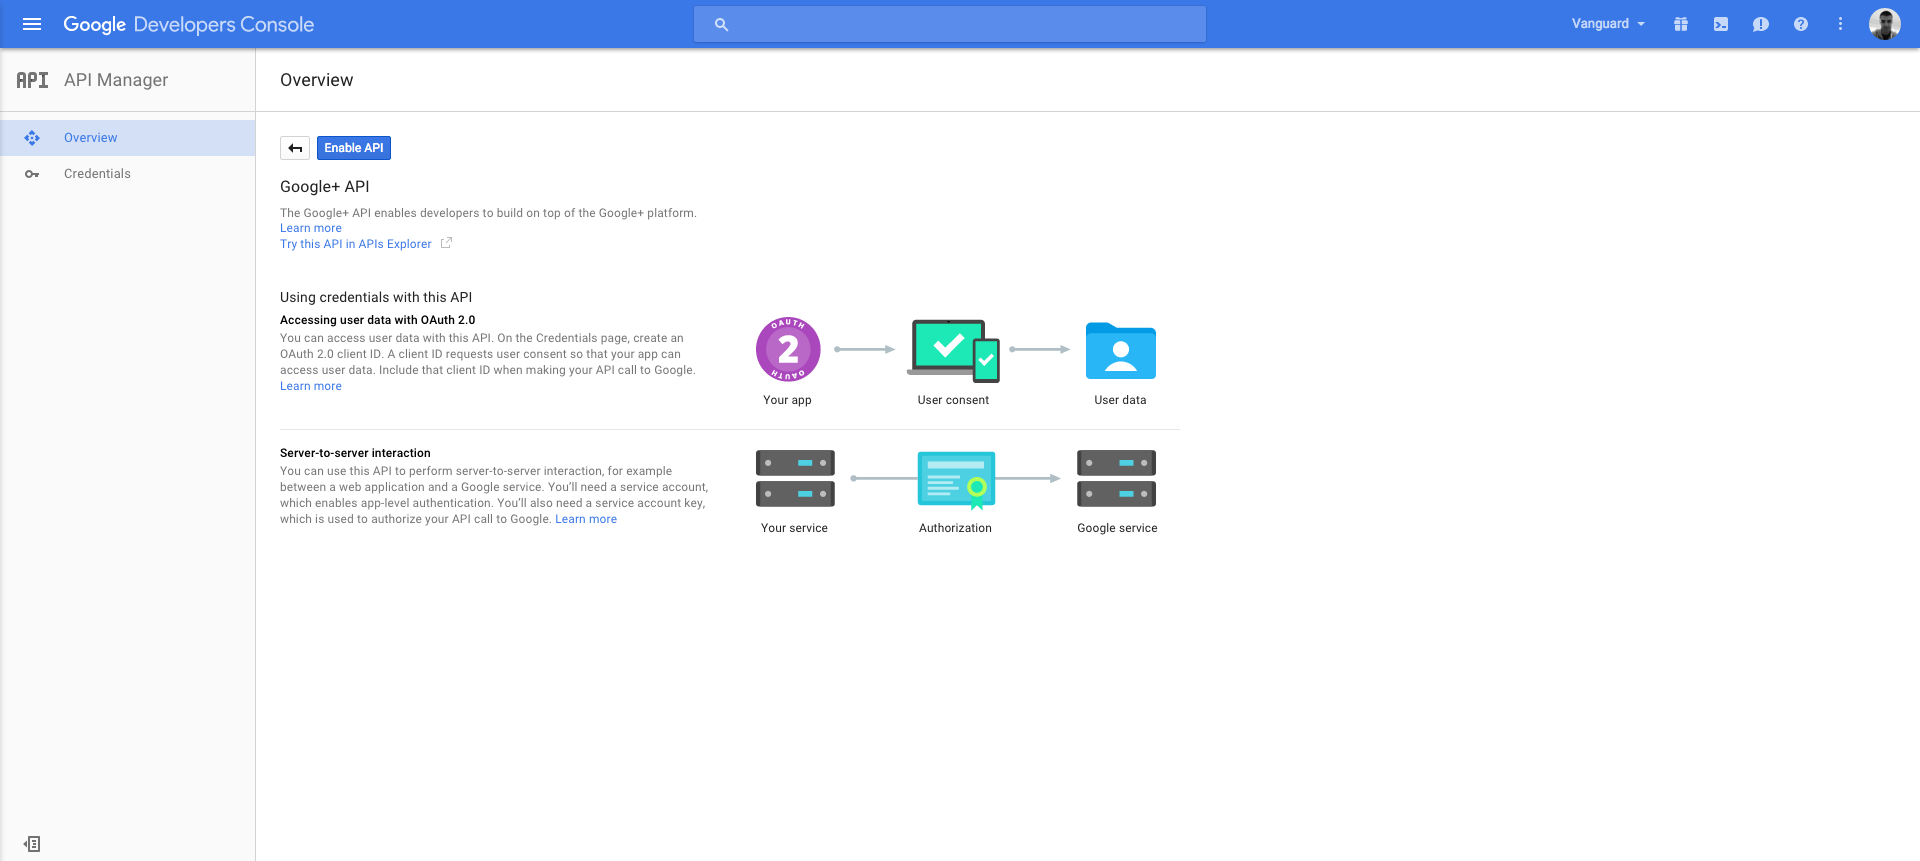
After opening the Google+ API page, click Enable API button in order to enable the API.
After enabling the API, the only remaining step is to get the credentials you need. Just click on Go to Credentials button, fill the displayed credentials form as following and click What credentials do I need? button:
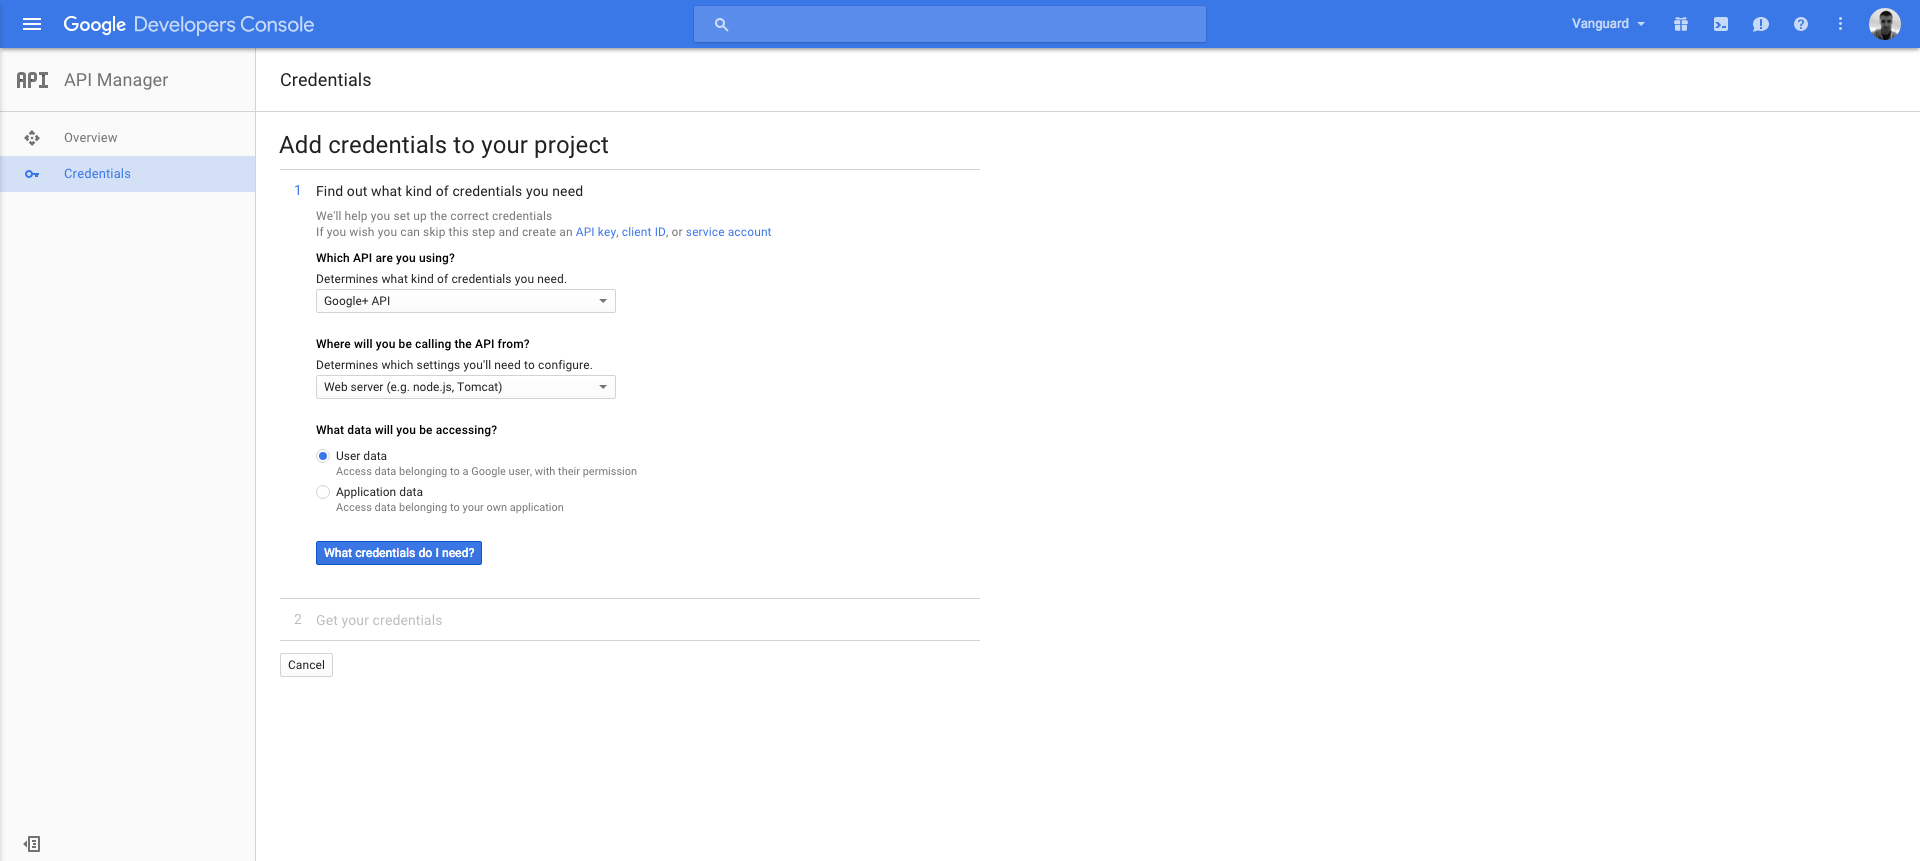
After entering in the required application Name, make sure that you enter http://YOUR_DOMAIN in Authorized JavaScript origins section, and http://YOUR_DOMAIN/socialauth_callback.php in Authorized redirect URIs section (basically your SOCIAL_CALLBACK_URI from above).
After you fill those fields, click Create client ID button, provide your product name as required, and get your Client Id and Client Secret keys.
When you have those keys, the only thing left for you to do is to paste them into your ASConfig.php file as following:
define('GOOGLE_ENABLED', true);
define('GOOGLE_ID', "your_client_id");
define('GOOGLE_SECRET', "your_client_secret");