Introduction
If you already have an existing PHP application, and you want to add user login and registration features, this section will show you how to accomplish that with Vanguard.
If can, it is highly recommended to move your application to Laravel framework and incorporate it inside Vanguard application. This will give you a ton of great features and abilities, and make your website more organised and maintainable.
For the purpose of this example, we will create a very simple one-page website that we will protect using Vanguard. We will first protect the whole page and make it be available for authenticated users only. After that, we will make that webpage display some content only for authenticated users, and if user is a guest then he won't be able to see that content. For the purpose of this example, we will create a very simple one-page website that we will protect using Vanguard. We will first protect the whole page and make it be available for authenticated users only. After that, we will make that webpage display some content only for authenticated users, and if user is a guest then he won't be able to see that content.
Website Structure
The HTML for example page is given below:
<!doctype html>
<html lang="en">
<head>
    <meta charset="UTF-8">
    <title>My Website</title>

    <link rel="stylesheet" href="https://maxcdn.bootstrapcdn.com/bootstrap/3.3.6/css/bootstrap.min.css">
</head>
<body>

<div class="container">
    <h1>My Simple Website</h1>

    <br>

    <div class="well">
        Lorem ipsum dolor sit amet, consectetur adipisicing elit. Consectetur debitis distinctio dolore
        eligendi enim fugit ipsa nemo odio odit quam quibusdam sapiente, voluptatum? Asperiores quis, rerum? Aperiam
        iusto nostrum repellat?
    </div>

    <h4>Random List</h4>
    <ul class="list-group">
        <li class="list-group-item">Cras justo odio</li>
        <li class="list-group-item">Dapibus ac facilisis in</li>
        <li class="list-group-item">Morbi leo risus</li>
        <li class="list-group-item">Porta ac consectetur ac</li>
        <li class="list-group-item">Vestibulum at eros</li>
    </ul>
</div>

</body>
</html>
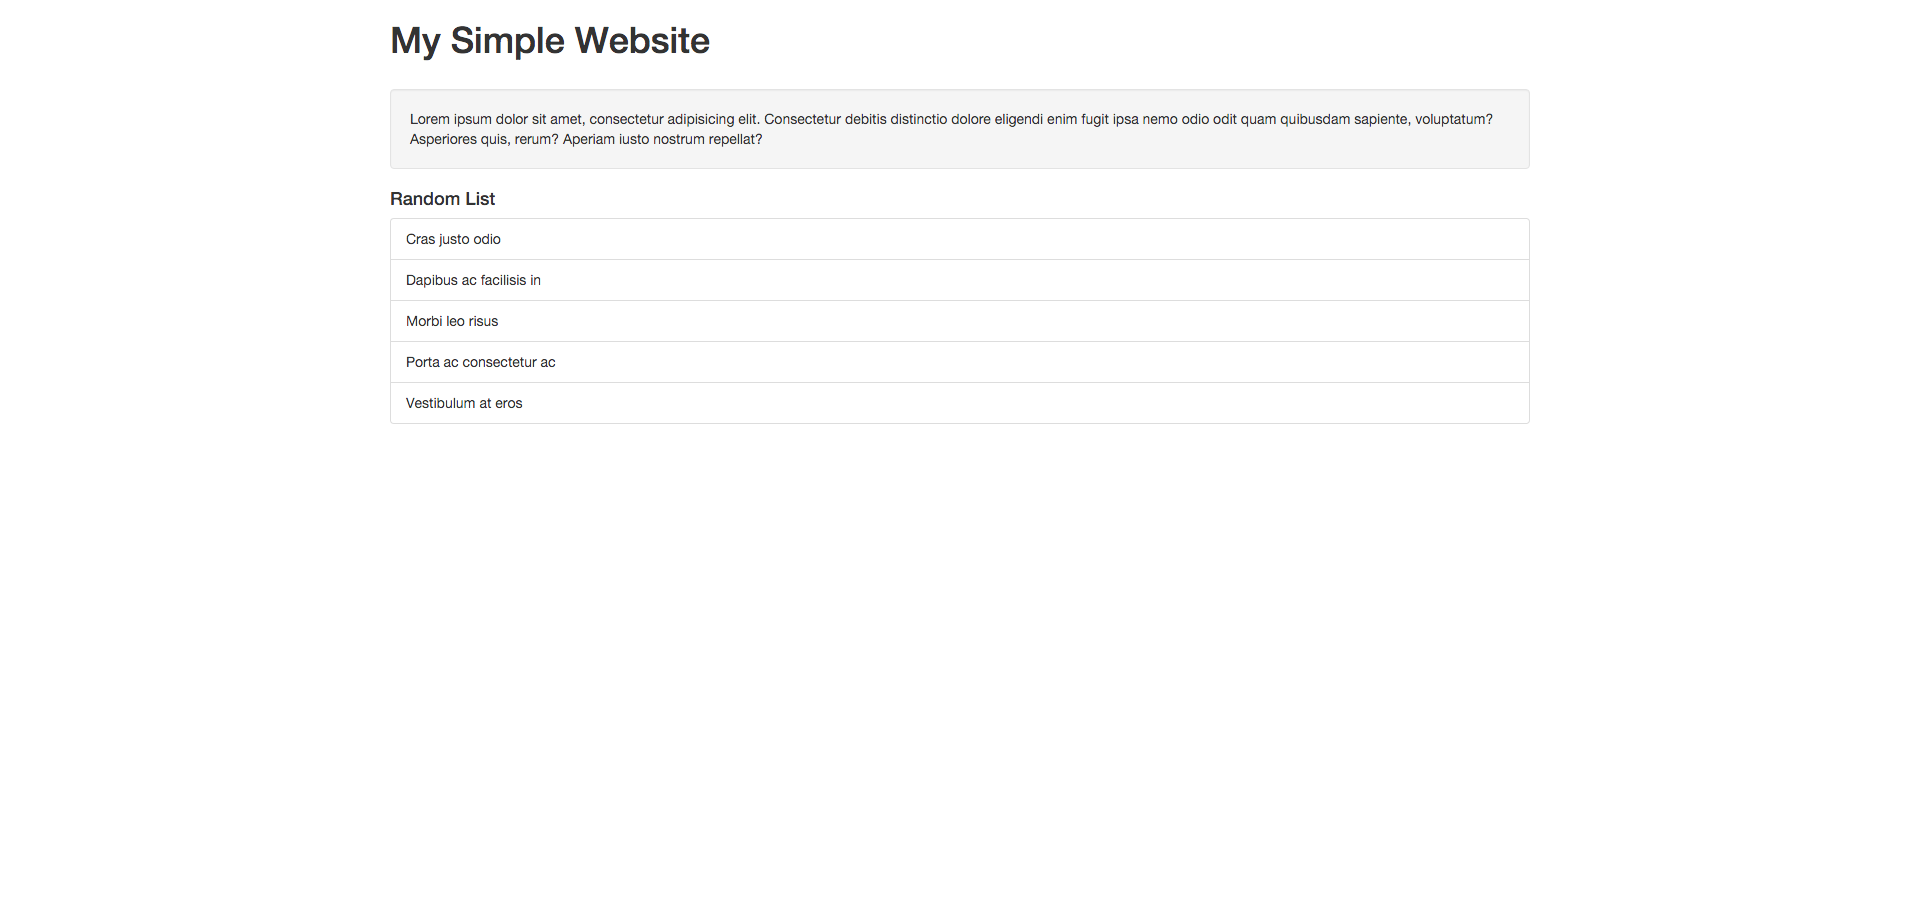
And, this page currently looking like this:

Protecting The Website
In order to protect the website and allow access to authenticated users only, all you have to do is to add following code snippet at the top of the webpage you want to protect:
<?php

// This should be equal to: PATH_TO_VANGUARD_FOLDER/extra/auth.php
require_once __DIR__ . '/../extra/auth.php';

// Here we just check if user is not
// logged in, and in that case we redirect
// the user to vanguard login page.
if (! Auth::check()) {
    redirectTo('login');
}

?>
Note! Make sure that you don't have any blank space before open <?php tag, not even a space!
If your Vanguard installation is inside some subfolder, just make sure that you call redirectTo method with correct parameter. For example, if you have installed Vanguard inside vanguard folder that is in your server's root, your redirectTo function call should look like this:
//...
    redirectTo('vanguard/login');
//...
Redirecting to Custom Page After Login
In case you want to redirect users to some custom page after successful authentication, this can be easily achieved with Vanguard as following:
//This can be url to any page, it doesn't matter
//if it is on your existing website or not
$to = "http://www.google.com";

if (! Auth::check()) {
    redirectTo('login?to=' . $to);
}
There are many cases where you want to return user to current page after they successfully log in via Vanguard. Fortunately, previous example does exactly what you need, and the only thing you need to change is redirect page. Here is an example:
//Move this to some helper function if you need it more than once
 $currentUrl = (empty($_SERVER["HTTPS"]) ? "http://" : "https://") . $_SERVER["HTTP_HOST"] . $_SERVER["REQUEST_URI"];

 if (! Auth::check()) {
     redirectTo('login?to=' . $currentUrl);
 }
Displaying Content For Authenticated Users Only
What if you want to still display a page to guest users, but hide some content from them and make it visible to authenticated users only? Luckily, Vanguard makes such task pretty easy.
First, lets modify the content of the website as following:
<?php require_once __DIR__ . '/../extra/auth.php'; ?>
<!doctype html>
<html lang="en">
<head>
    <meta charset="UTF-8">
    <title>My Website</title>

    <link rel="stylesheet" href="https://maxcdn.bootstrapcdn.com/bootstrap/3.3.6/css/bootstrap.min.css">
</head>
<body>

<div class="container">
    <h1>
        My Simple Website
        <?php if (Auth::check()): ?>
            <a href="logout" class="btn btn-default pull-right">Logout</a>
        <?php else: ?>
            <a href="logout" class="btn btn-primary pull-right">Login</a>
        <?php endif; ?>
    </h1>

    <br>

    <div class="well">
        Lorem ipsum dolor sit amet, consectetur adipisicing elit. Consectetur debitis distinctio dolore
        eligendi enim fugit ipsa nemo odio odit quam quibusdam sapiente, voluptatum? Asperiores quis, rerum? Aperiam
        iusto nostrum repellat?
    </div>

    <?php if (Auth::check()): ?>
        <h4>Random List</h4>
        <ul class="list-group">
            <li class="list-group-item">Cras justo odio</li>
            <li class="list-group-item">Dapibus ac facilisis in</li>
            <li class="list-group-item">Morbi leo risus</li>
            <li class="list-group-item">Porta ac consectetur ac</li>
            <li class="list-group-item">Vestibulum at eros</li>
        </ul>
    <?php endif; ?>
</div>

</body>
</html>
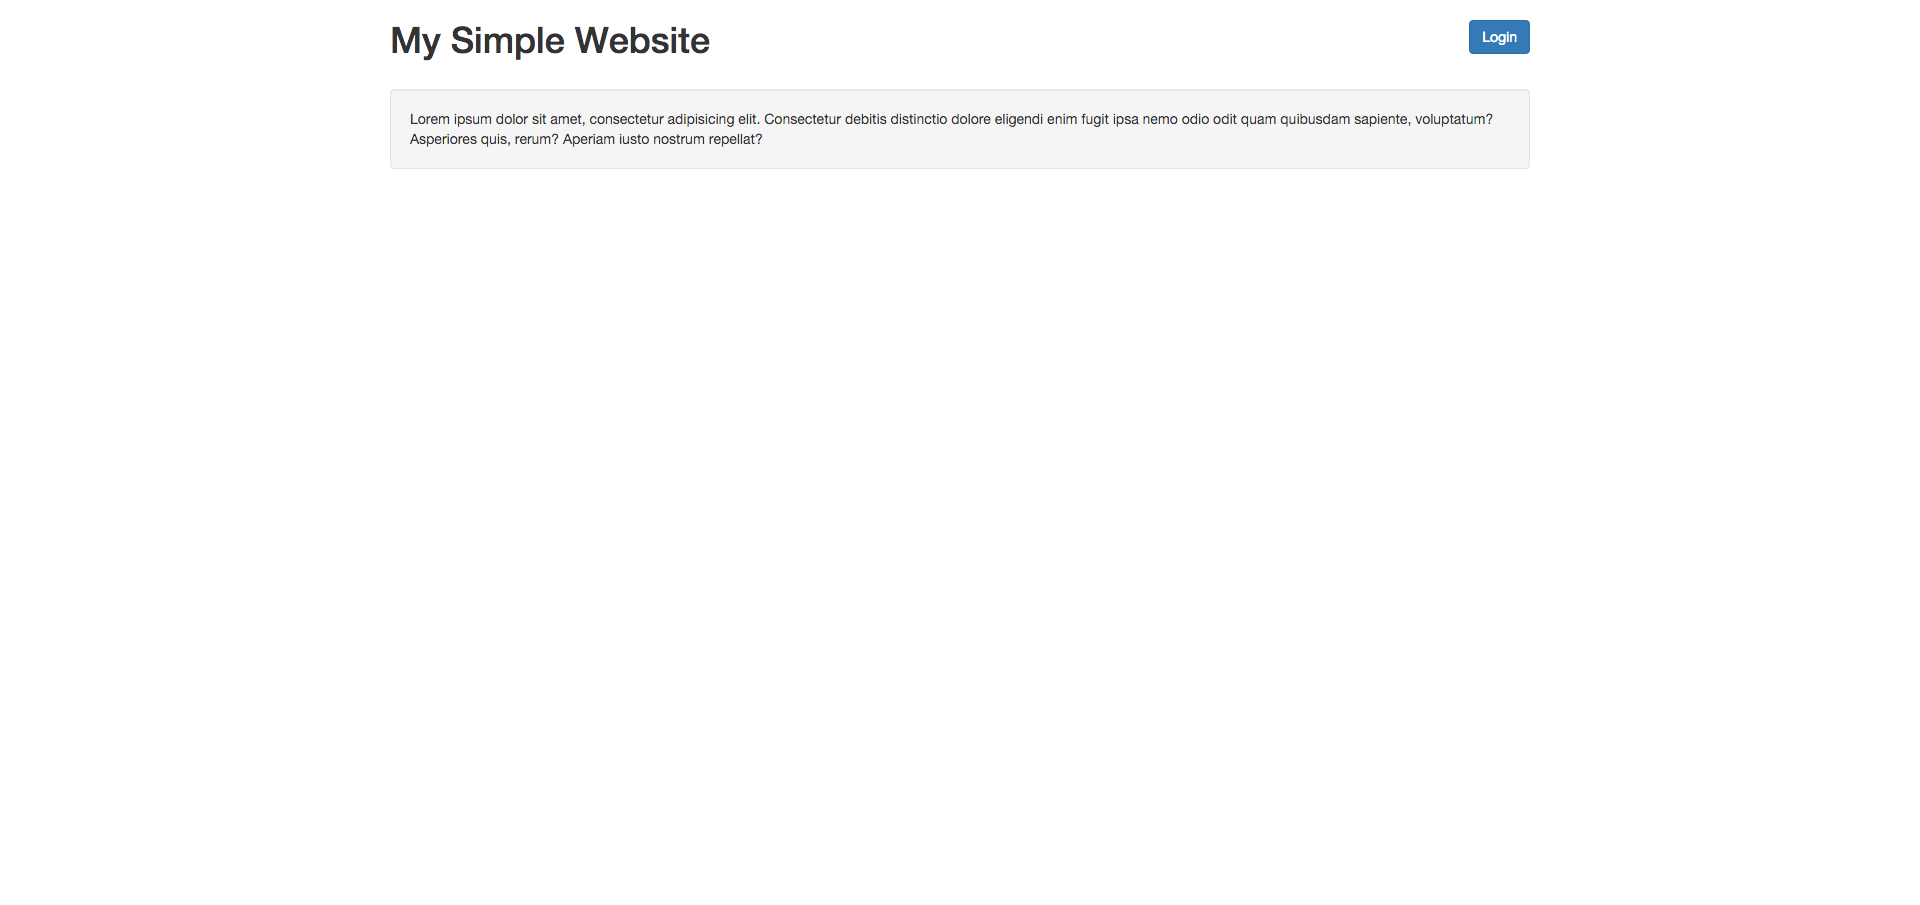
Now, if we access the website as non-authenticated (guest) user, the page will look like following

So, as you can see, it works like this:
<?php if (Auth::check()): ?>
   // content here will be displayed only if user is authenticated
<?php else: ?>
   // content here will be displayed only for guest users
<?php endif; ?>
This means that, on webiste above, we did the following:
- If user is logged in, then we will display logout button. Otherwise, we will display Login button.
- We will display Random List element only if user is logged in.
Displaying Content Based On User Role
From outside (and from inside) of Vanguard application, currently logged in user can be fetched using Auth Facade, like following:
$user = Auth::user();Now, by calling echo $user->first_name; it will print the value inside first_name database column for that specific user. So, as you can imagine, it work for all db columns, not only for first_name. If you are interested to learn more about models in Laravel, check the documentation.
If we want to check if user has some role, it can be done like this:
$user->hasRole('Admin');The parameter used for hasRole function is role name. Check roles and permissions section for more details about what is name attribute and how you can create/manage roles in Vanguard.
So, since we now know how to check if user has specific role, rendering some content or doing some action based on user's role is almost the same as we did for authenticated/non-authenticated users.
The modified website example will display Random List section only if currently logged in user has Admin role:
//...

    <?php if (Auth::user()->hasRole('Admin')): ?>
        <h4>Random List</h4>
        <ul class="list-group">
            <li class="list-group-item">Cras justo odio</li>
            <li class="list-group-item">Dapibus ac facilisis in</li>
            <li class="list-group-item">Morbi leo risus</li>
            <li class="list-group-item">Porta ac consectetur ac</li>
            <li class="list-group-item">Vestibulum at eros</li>
        </ul>
    <?php endif; ?>

//...
Displaying Content Based On User Permissions
If we want to check if some user has some permission, we can simply do that by calling hasPermission method on some user instance, with permission name as parameter, like following:
//This function call will return TRUE if
//user has specified permission, and false otherwise
$user->hasPermission('users.manage')
Now, if we want to display Random List content from our example website to user with see_random_list permission, we can do it like following:
//...

    <?php if (Auth::user()->hasPermission('see_random_list')): ?>
        <h4>Random List</h4>
        <ul class="list-group">
            <li class="list-group-item">Cras justo odio</li>
            <li class="list-group-item">Dapibus ac facilisis in</li>
            <li class="list-group-item">Morbi leo risus</li>
            <li class="list-group-item">Porta ac consectetur ac</li>
            <li class="list-group-item">Vestibulum at eros</li>
        </ul>
    <?php endif; ?>

//...
Of course, since see_random_list permission does not exist, we will have to create it first, as it is explained inside roles and permissions section, and set the name attribute to see_random_list (for Display Name we can use anything we want, ex: See Random List). When such permission is created, we can assign it to any role we want.

